

Earlier this year I had the perfect excuse to experiment with some flexible LED filaments that had been sitting in my “interesting parts” bin for years -- the company I work for was putting on a neon-themed event, so obviously I had to custom-build some LED neon attire! The only problem was this was announced less than a week in advance.... This is how I designed and assembled a wearable neon shirt in just a few days.
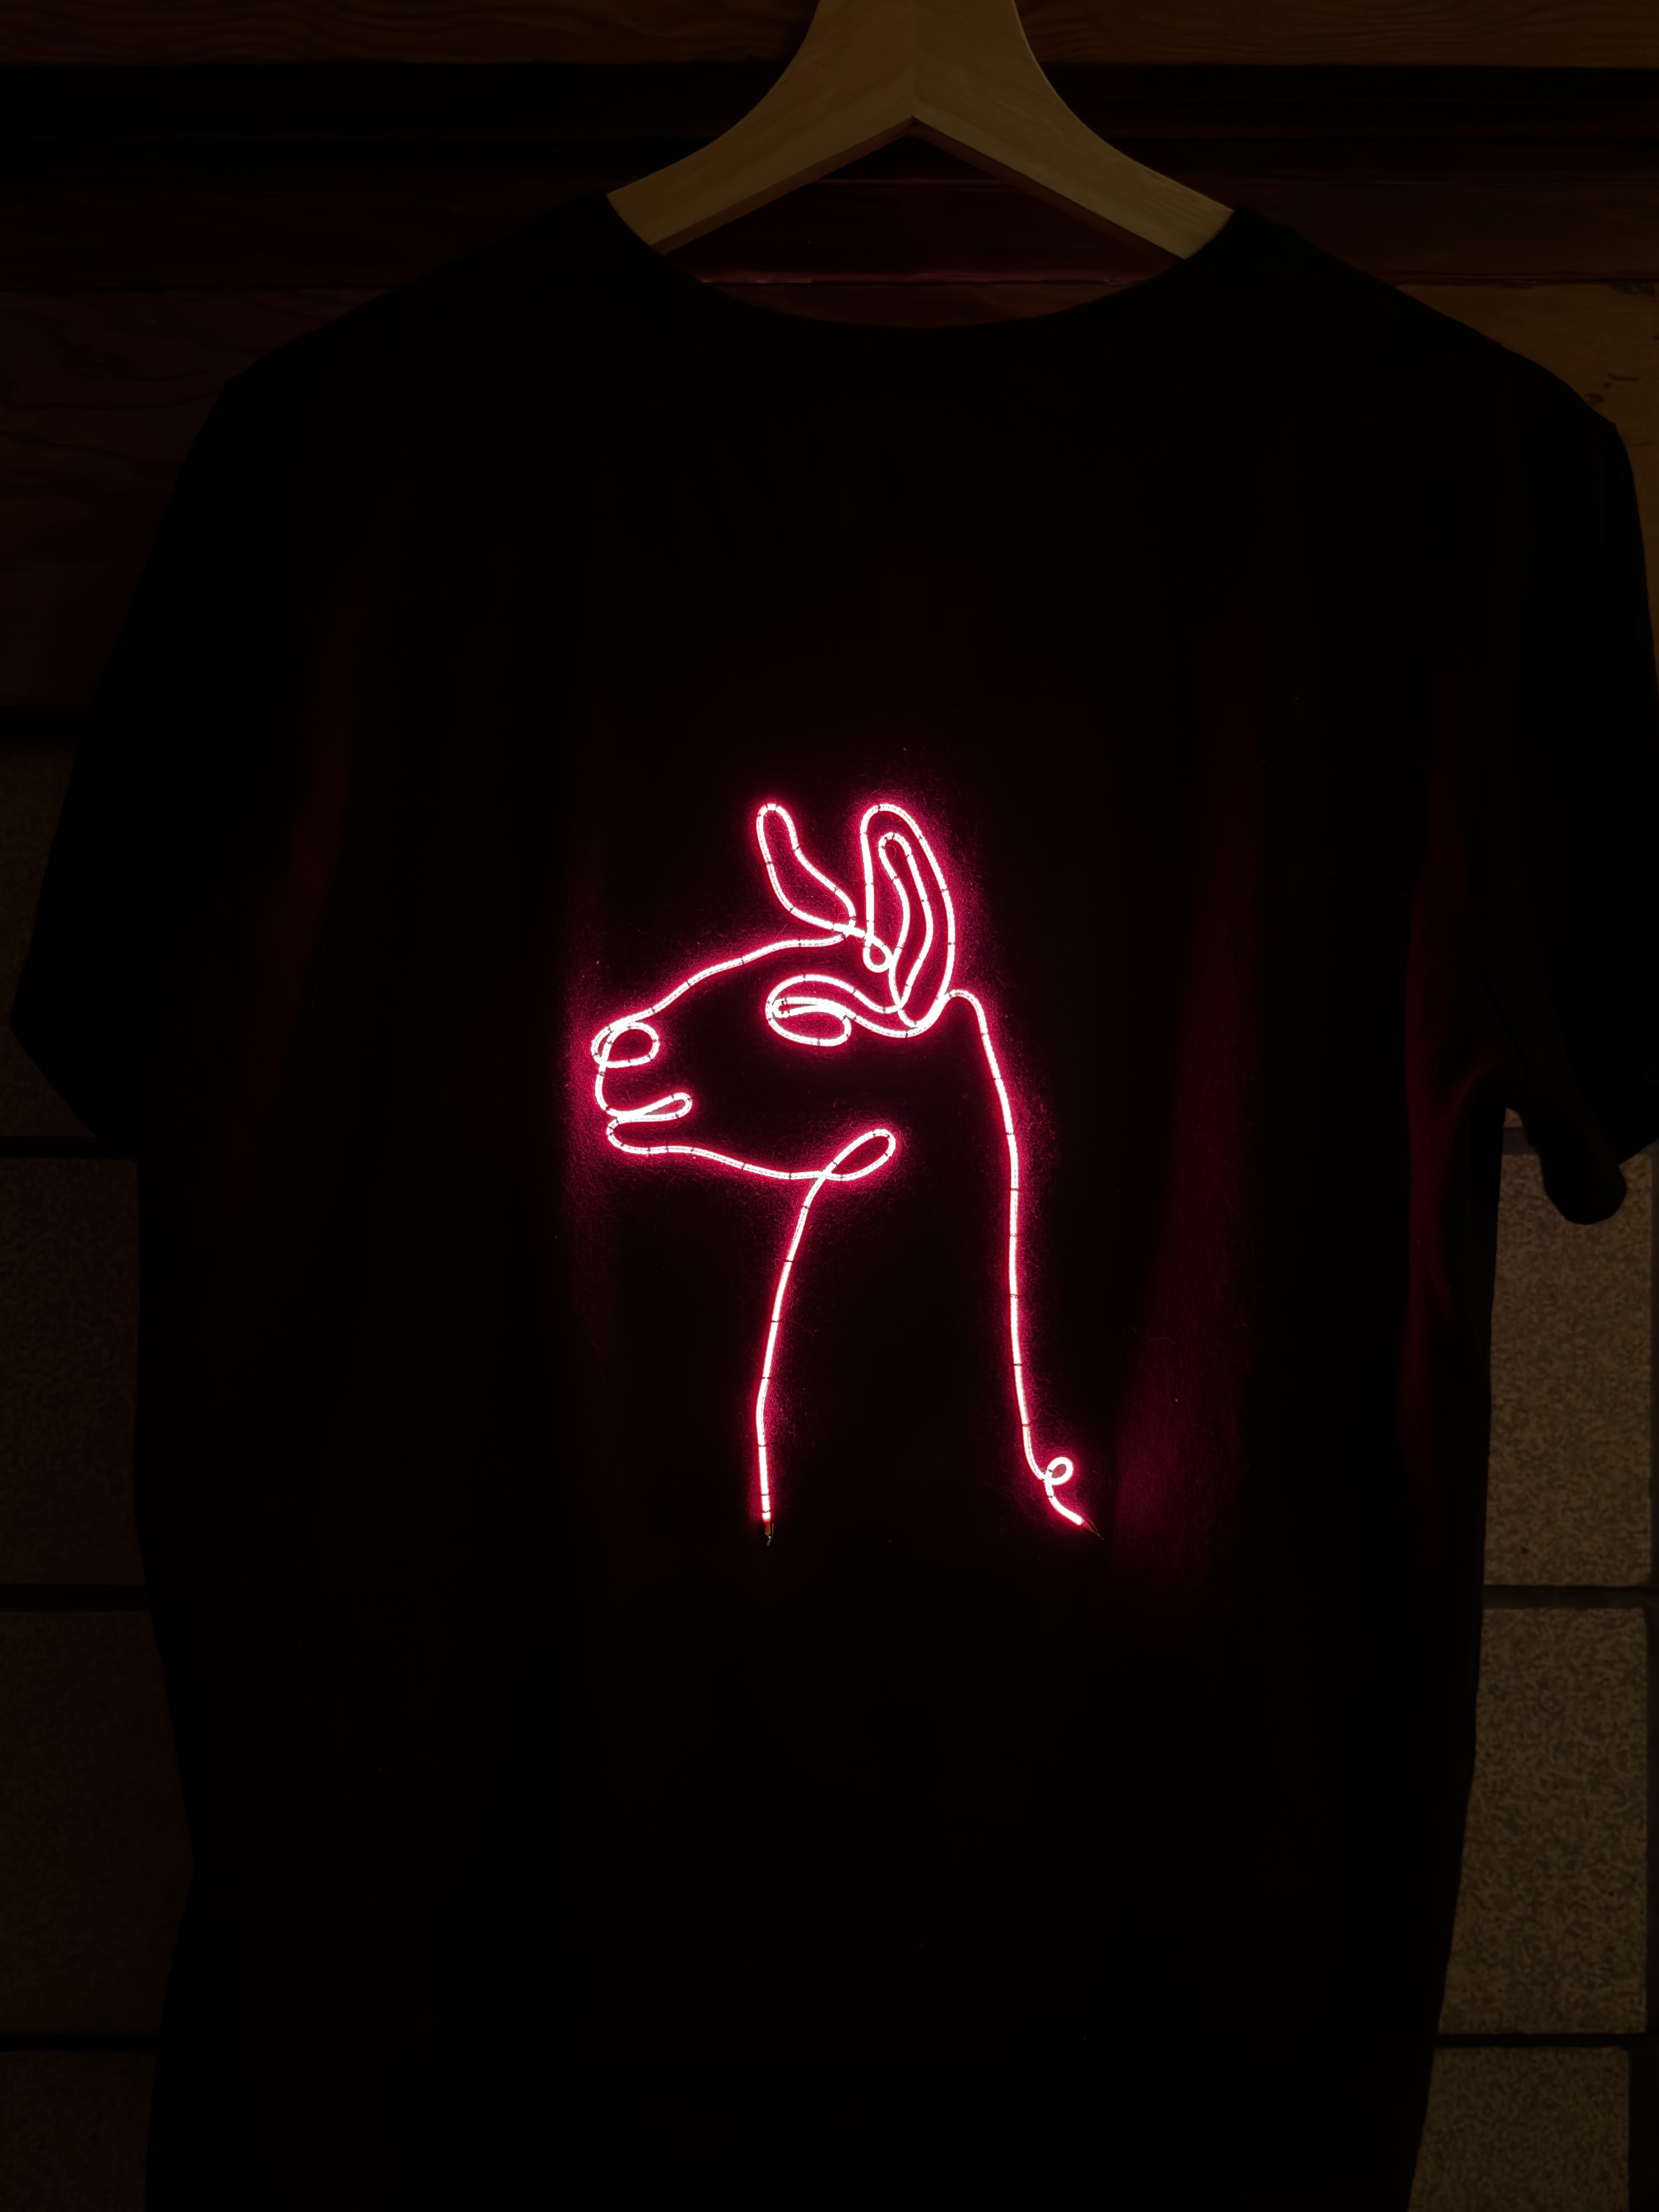
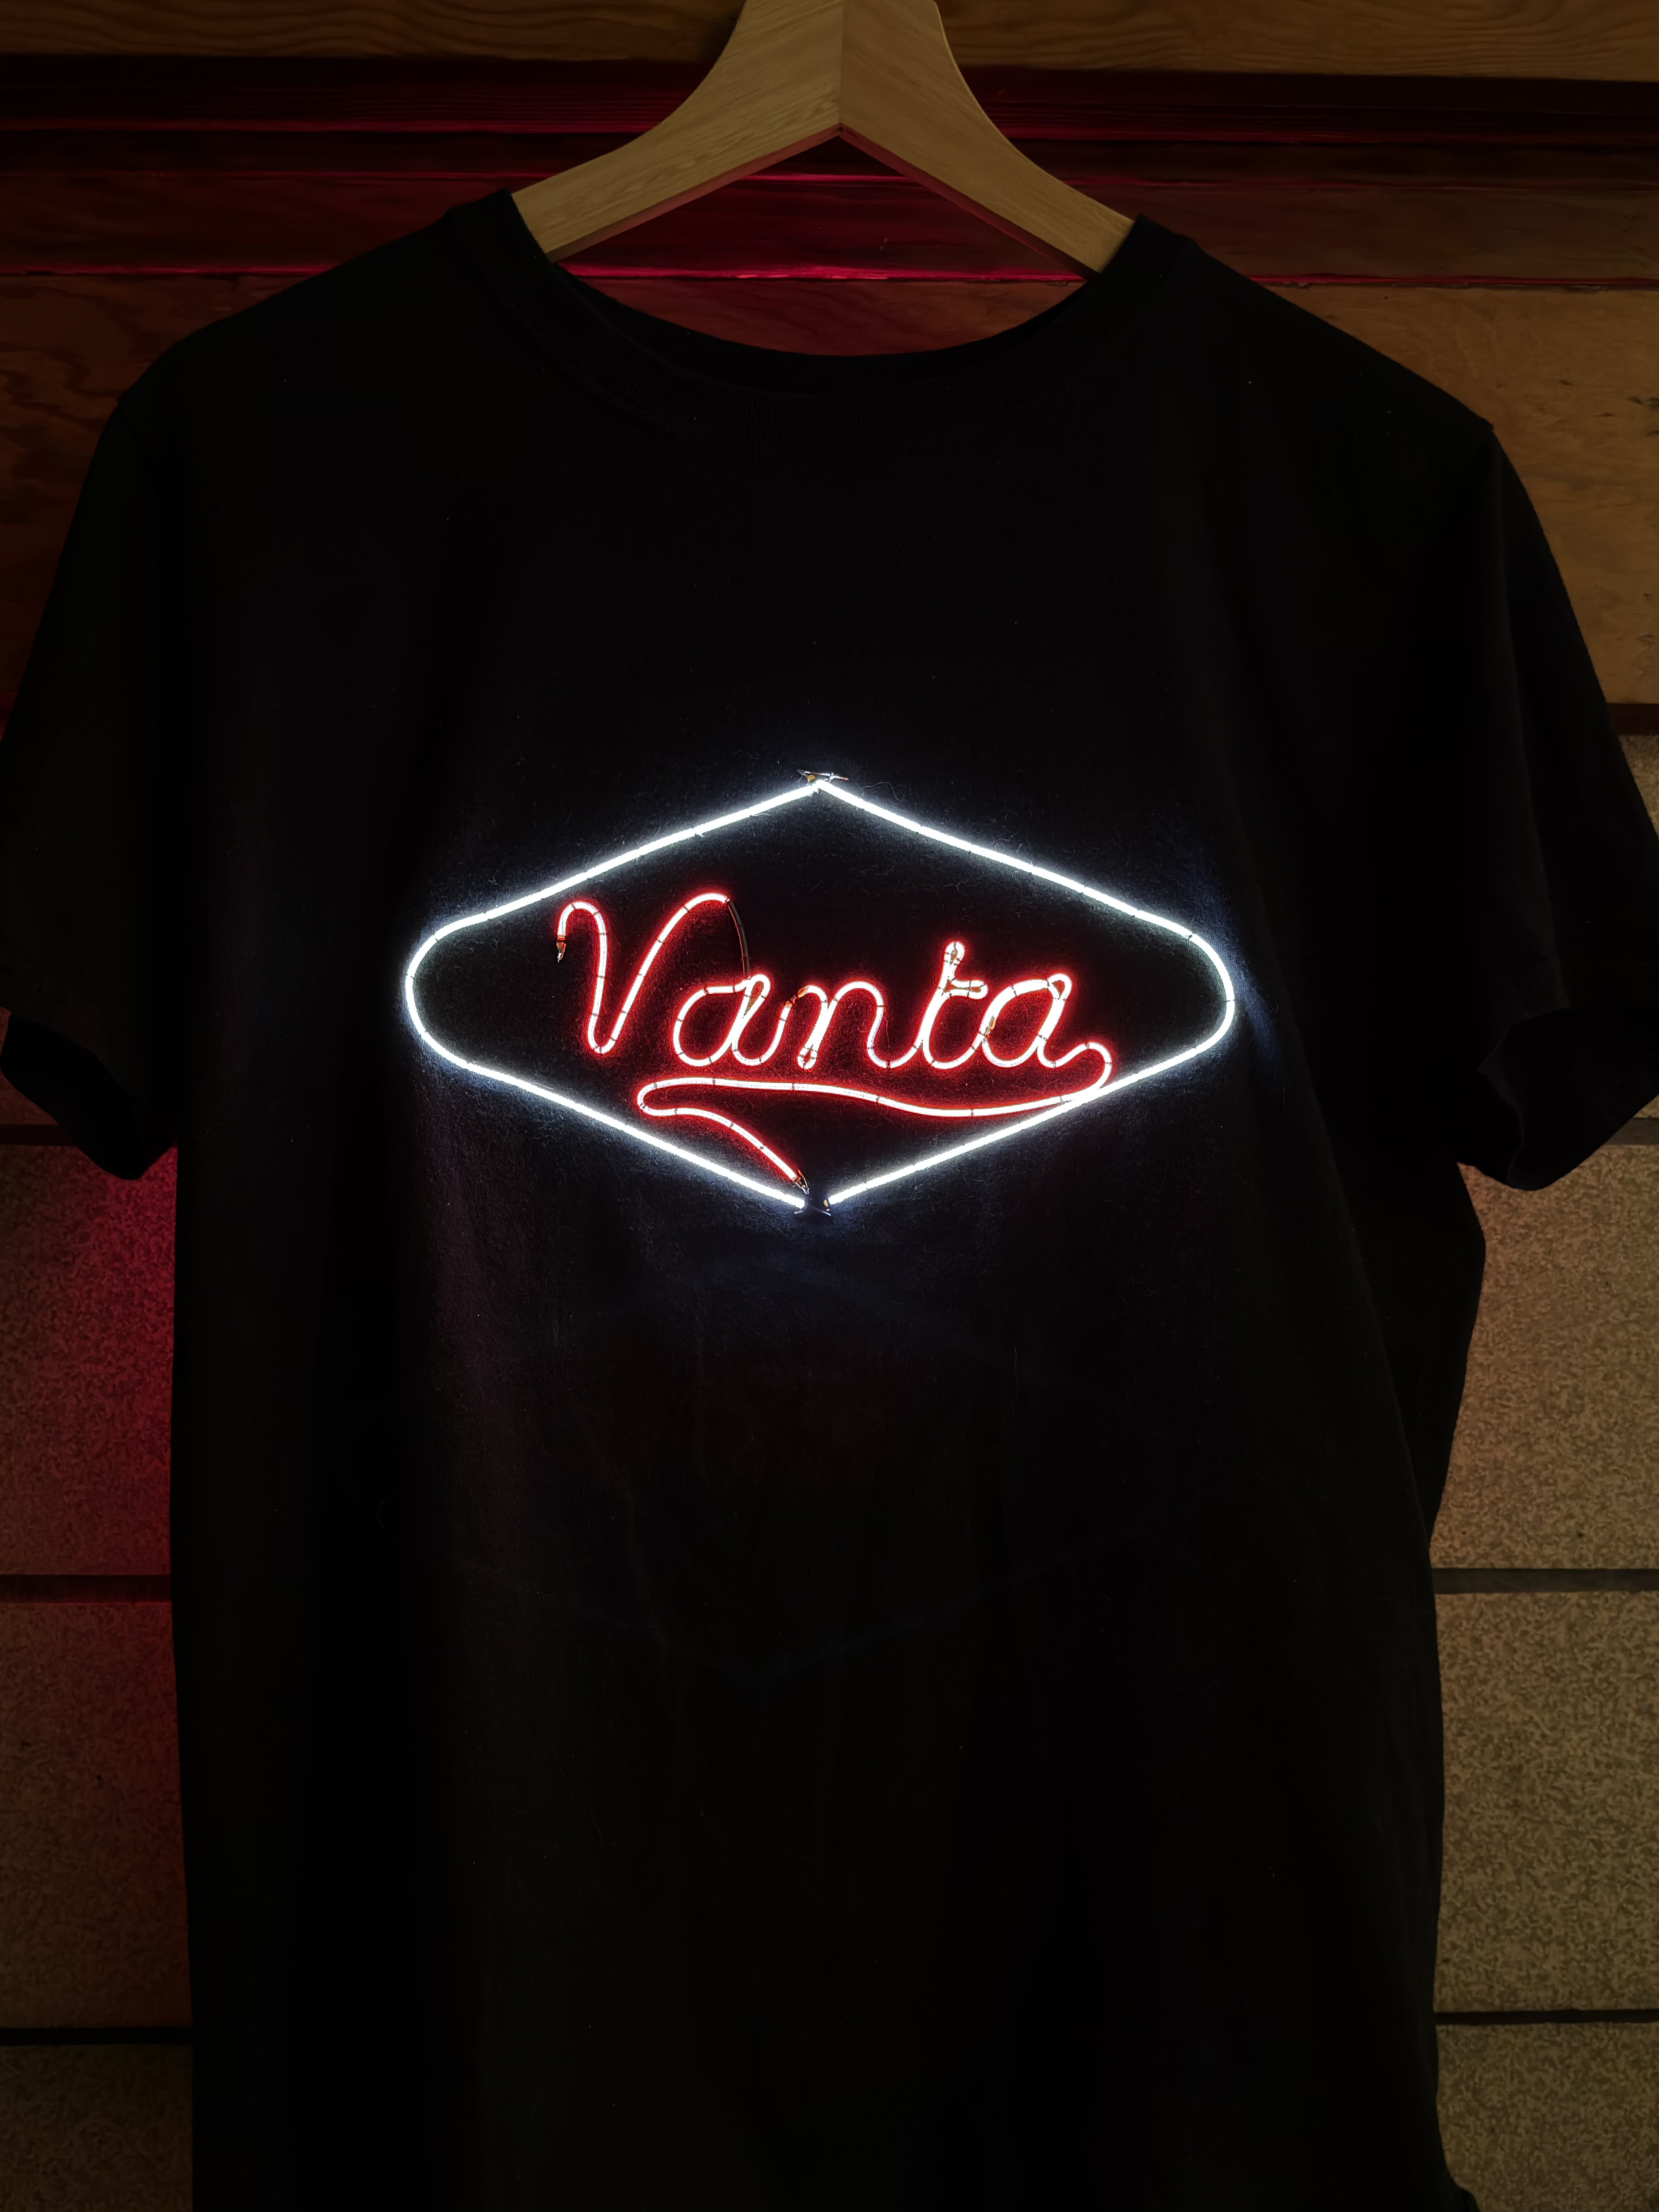
A rough parts list, in case you want to try something similar:
- Led filament
- Lots of colors and lengths available. I recommend Adafruit - you’ll pay a bit more than AliExpress, but it’s convenient and they do a lot of great open source work so I’m always happy to support them!
- 2x 600mm warm white 12v
- 3x 300mm red 3v
- 1x 1200mm red 24v
- Electronics
- USB battery bank
- ESP32
- Some way to step up/control the voltage for the LEDs
- Boost converter
- Constant-current led boost driver e.g. TPS61169
- ULN2003A transistor array breakout board
- Black t-shirt
- Black thread
- Some kind of stiff fabric as a backing/stabilizer (I used scraps of cross-stitching fabric)
- Tissue paper (for tracing)
- Heat shrink tubing
The start: basic tests

The first order of business was to figure out how to attach the filament to a shirt, and make sure it would actually look good. By itself, the cotton t-shirt doesn't have much structure and would be too soft and flexible to support sewn-in filament shapes without bunching up, so I decided to borrow some craft supplies from my wife for a quick test: some cross-stitching fabric (“Aida cloth”) as a stiff substrate, and an embroidery hoop to hold everything steady and evenly tensioned while sewing.
Taking a short piece of blue LED filament and some black thread I tried sewing it down to the shirt and stiff backing fabric with a few different curves.


The design
Now that I’d validated a basic technique I had to actually design my "neon." One of the main constraints with these LED filaments is that they can't be cut to length - one end is positive and the other negative - and there’s no way to shorten them without completely breaking them.
This meant the path for my neon design needed to fit one of the discrete sizes. On the back of the shirt I wanted a llama using a single 24v 1200mm long red filament. I started with a continuous path in Inkscape (looping back and over itself as needed), then used Inkscape’s “Measure Path” feature to check the length and scale it until it was just about the right length.


Sewing
In order to transfer the designs to the t-shirt, I printed them out on printer paper, then laid tissue paper on top and traced the path with a marker. Just like my original test, I taped the tissue paper to the shirt, taped some cross-stitch fabric to the inside of the shirt, and then started sewing the filament in place.


The borders were pretty simple – each side used a 600mm warm white filament with some of the easiest sewing so far - mostly straight!


Electronics & wiring
To power the LEDs, I needed a way to connect the filaments to wires on the inside of the shirt. I soldered a short length of enameled copper magnet wire to each, then poked it between the weave of the shirt fabric


For the llama on the back of the shirt, I needed to boost the voltage to power the 1200mm 24v filament from the 5v USB supply. Another TPS61169 constant-current boost driver would have been ideal, but I only had one and it was already in use for the text. Instead I used a cheap AliExpress constant-voltage boost converter, and a pair of resistor in series with the filament to get a relatively stable supply.


Finally, each half of the border was a 12v 600mm filament, but I was out of good options for stepping up the voltage. However, since these were accents rather than the main focus, I decided to just under-drive them from the 5v USB, using a ULN2003A transistor array to allow the ESP32 to PWM dim them.
All of this was squeezed into a small 3d printed enclosure, with a USB C port to connect to the ESP32 breakout board and power everything from the battery bank, and a slot where the ribbon cables could pass through to the shirt, complete with zip-tie strain relief.
The result
