
Chop up your books
This is my appeal to readers everywhere: you should take a knife to your books.
(And no, not in the sense that the destructive AI-scanners do.)
Like apparently everybody else, my book club recently picked out Lonesome Dove. I’m not a Western guy, but it’s clear that this pulitzer-winner earned it. It’s good.
But come on: this is an 850+ page paperback! It is what I call Too Big.
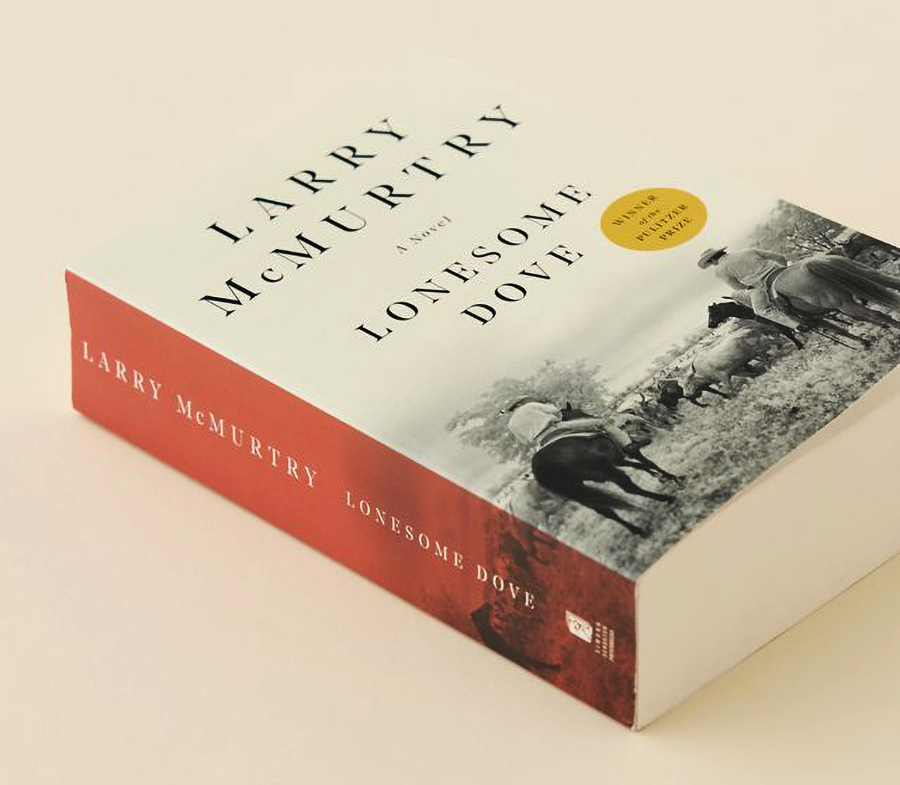
It’s going to tire out your hands to hold up an 850-page book for the time it takes to read an 850-page book. If you read in bed, it’s going to tire your arms out, trying to hold this giant tome over your head. If you want to take this book on a plane or bus, it’s going to take up half of your bag.
So, I would like to recommend you to a practice I call Chop That Book Up Into Reasonable Sizes.
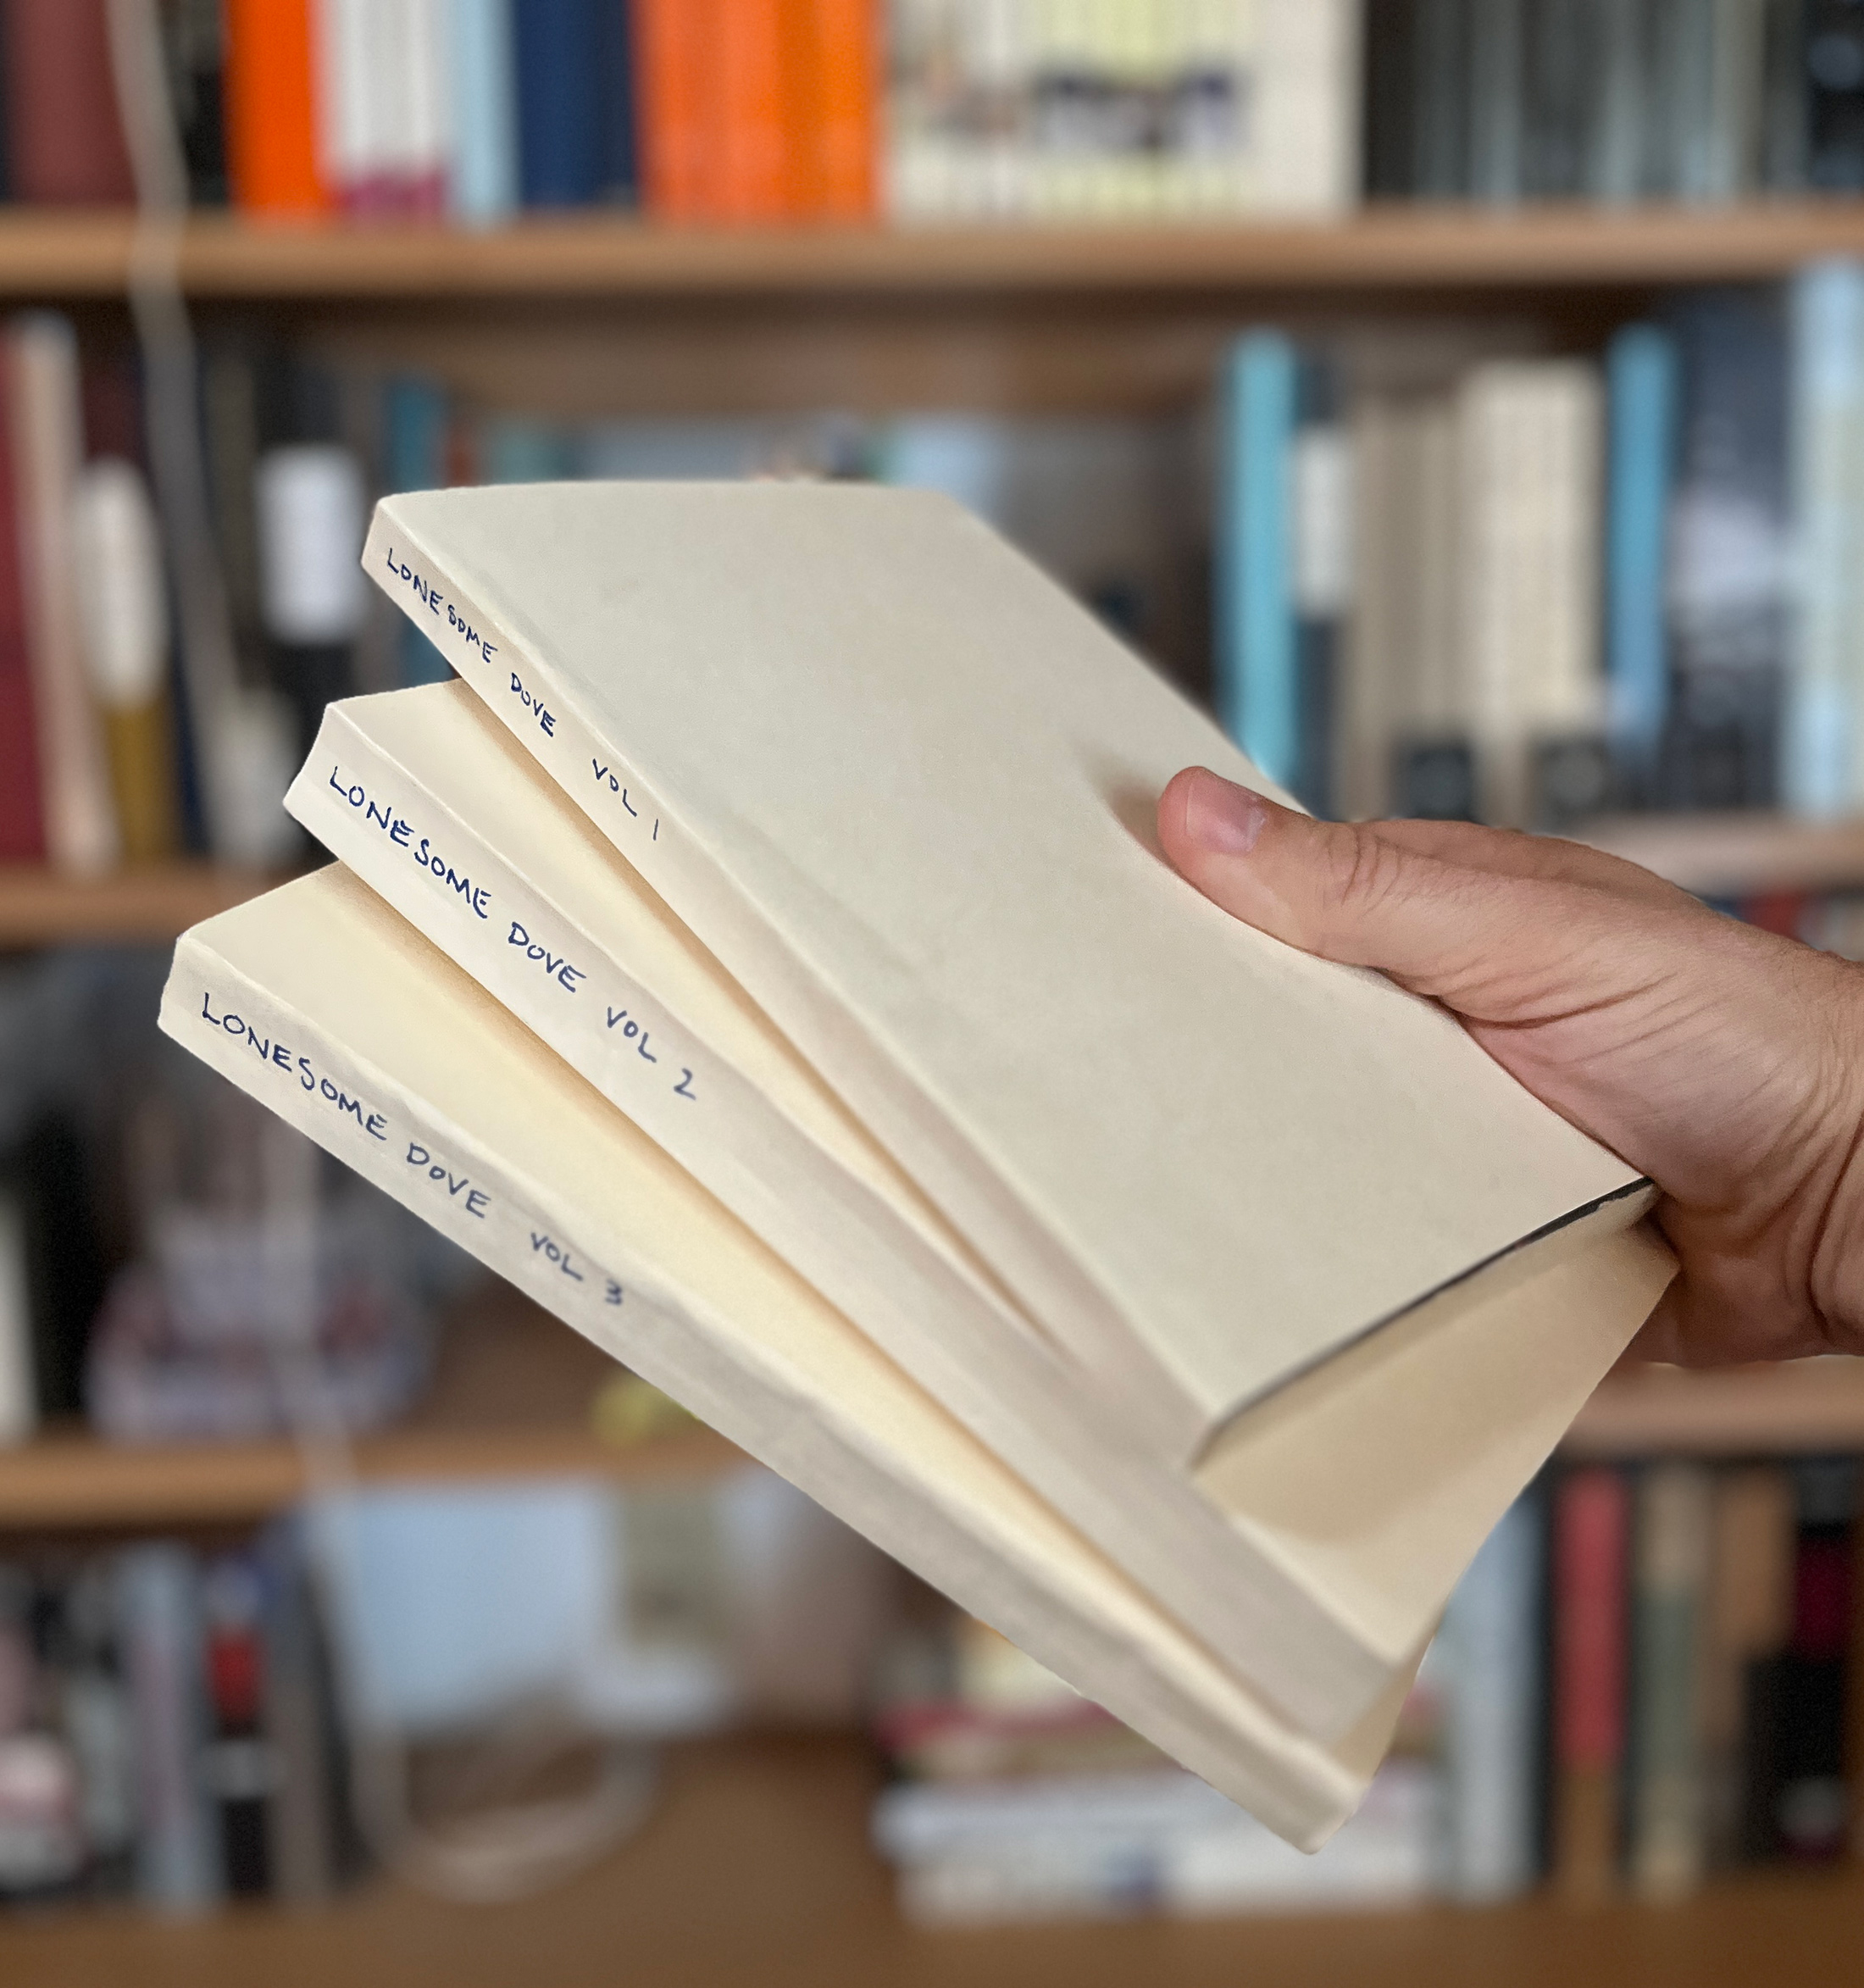
It takes a few minutes and very few tools. You also can enjoy reading reasonably-sized volumes of big books.
At the risk of parroting ‘you can just do things’, I’m telling you: You Can Just chop up your book. Nobody will call the cops. Authors don’t mind! (well, I don’t think so, and I wouldn’t mind if you chopped up my book, which I freely admit is also Too Big).
Here’s what I do when the book is Too Big:
- Buy a copy. Don’t do this with library books.
- Paperbacks are easiest but hardbacks work fine too. Think about the format you like to read and look at its pages. Do you like the type sizing? The margins?
- Find the natural break points. Lonesome Dove is a great case here; it’s divided into three Parts, and each Part makes a great smaller volume. But otherwise you’re looking for chapter breaks.
- Crack that spine. Bend the book alllllll the way open at the first break point. Manhandle it. If the book is perfect-bound (which means the pages are glued together along the spine, most paperbacks are), you can bend the spine backwards enough to see the glue strip. If you’ve got a hardback that’s actually stitched together, then look for a break between signatures (those are the groupings of pages that are stitched together). Signatures are still going to be glued together in most cases. Here’s a comparison of binding types.
- X-acto that baby. Carefully slice between the sections, right into the glue. Bookbinders glue is great stuff - you can slice into it neatly with a good sharp blade, but you won’t mess up the glue’s grip on surrounding pages.
- Voila: you have volumes. Next you’ll want to bind it in some new ersatz cover. If you try to carry around just the section of the book without any cover, you will soon learn what covers are for! Individual pages will snag, rip, and peel off. Trust me, you want a new cover.
- You can use anything, but I recommend a manila folder. These are great: firm enough to protect the book block (the actual pages), but cheap and disposable feeling. Fold a manila folder around your new smaller volume. Make sharp creases. Trim it to size with your x-acto blade.
- Then glue it on! You can get bookbinders glue, but honestly Elmers will work just fine. You’re not binding this book to make an heirloom: you’re rebinding it for your own convenience. Smear a line of glue in the new spine, and use binder clips will hold the manila folder in place. Let it dry.
- Label it! I think a bold sharpie does the job here. I’ve had books where I gave it more detail, but I love the unpretentiousness of a marker.
- Enjoy your reasonably-sized book.